Showing posts with label painter's tape. Show all posts

Friday, January 9, 2015

Art Parties: Take 2 and 3 in Naples, Florida

 Get your pass today! at Indiegogo

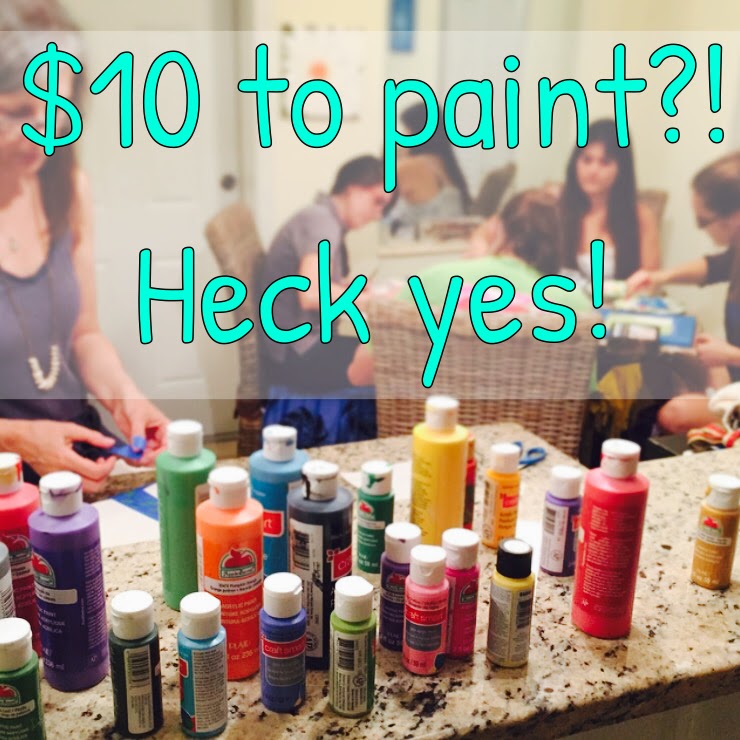
My guinea pigs this Holiday break made some fantastic pieces of art down in Naples, Florida - with all of this excitement I have decided to alter my Indiegogo Campaign (that's growing my small business - deadline for all funds raised is Feb 6th!) to include not only these fabulous art print post cards, but also the art parties! In the future each 2-3 hours party will be $15 for all the supplies and guidance, but you can get as many as you'd like now (until Feb 6th) through the indiegogo campaign for only $10 a party! Typically this includes a 12x12 inch canvas and use of paint, brushes, glitter, glue and the technique of the moment (tape resist in these examples). 

Side note, the indiegogo campaign has to reach the goal - or none of the funds come to me - they all go back into your pockets, and I try and grow my small business without your support (sad face, no printed art post cards). My goal is to have art parties at least every other week in Jacksonville, Florida. With special events in Naples, Florida. 


As of writing this post, I am at 54% and have 29 days left! Only 115 passes need to be purchased to make the goal! Not local to Jacksonville or Naples, Florida, but still want to support a creative small business owner? Check out the other perks for contributing or just spread the word, every little bit helps. 


Shown above is Carrie - I have always seen her baking and cooking, but to see this visual artistic side come out in the art party was a real treat! She was so focused with adding her specific details to her painting. She has already purchased a never-expiring art pass - whoohoo go Carrie!


Jake came into the art party and said... I haven't done art since elementary school - something like 20 years ago! He made strong design decisions with some added visual texture to a couple of the pieces. He and his wife Maday enjoyed the party together - both creating something unique and getting back to exploring their creative sides. 


Above is my mother working on a tree with the tape resist, She has always been my inspiration for everything in life and I was glad to be able to share this art party experience with her. Her finished piece is below. 


As we embark upon this new year - I urge you to get creative, check out the tutorial here or other examples here, if you think painting with tape resist may be your thing. 

What do you want to do to get creative this year? 


Monday, December 22, 2014

Art Party: Take One in Jacksonville, FL

A couple of my amazing friends came over this weekend for an Art Party! The inspiration was from this blog post and tutorial. 
Here I will show how with my amazing and creative friends their projects morphed into different things all their own. 
We started with a paper wrapped table, protected chairs and floor (the apartment is new and my boyfriend would want me to keep it as nice as possible). And we used masking tape as a tape resist on the canvas, so that everything covered in tape would have an edge and remain white like the blank canvas. 

Jenni decided to make a design out of basic shapes and repetition. Her cohesive color scheme really brings the focus to the spiral and it's topped off with a little "oomph" of glitter. It will go in the soon-to-be-baby's room!

Kat took a different approach and was inspired by pinterest/google images of love birds, so she made a tape resist tree and border, and painted around it. Her use of glitter was for both accent within the piece on the tree and as a glamorous border. 

Liz loves greens, pinks, purples and blues. She is bold and full of life which is reflected in her painting with broad strokes of tape resist (turned glitter) and vibrant colors. Sorry, I don't have any completed photos to post at this time. 

The ladies brought their own snacks or drinks, I provided the use of my kitchen, glassware, and all the art supplies. Next time I will give a bit more guidance on the glitter (per their request). But overall this was a free space to create, where I encouraged them to try a new technique and see what they could do with it. 

I'd say it was a success! Thank you for being a part of this evening ladies!

More events happening later this week down in Naples, FL. Check out the invite here! All proceeds are going to advance my indiegogo campaign so that I can grow Chelsea Rose Art through postcard sales and Art Party events! Can't make it to an Art Party, but want to support me? Consider contributing to the campaign and get perks of my artwork! 


Tutorial: Abstract Geometric Wall Art


This weekend I hosted an art party (more on that later), but the inspiration for the supplies and basic direction of the party came from a few pins I had come across on Pinterest. One of those inspiring pieces is here and the other is to a dead link but I'll post the picture below. 

Although she does a great job of explaining the process (and includes a good step about gesso-ing the edges of the tape for a cleaner line, especially with wilder or younger painters), I wanted to show how I tackled the exercise. This project is great for beginners and creates an interesting piece without needing to grab the rulers and be too careful with your paint along the straight edges - all by using painter's tape!
  • Canvas (12in x 12in or larger)
  • Paint and Paint Tray
  • Brushes or Sponge Brushes
  • Water
  • Towels
  • Painter's Tape (I used both the 1 and 3/4 inch width tape)
  • Scissors (optional)

Place the tape on the canvas, remember as this is a "resist" wherever the tape is will remain the color of the canvas, in this case, under the tape will remain white. Press the tape down firmly on the canvas, especially if you are going around the corners. Small pieces of tape are not recommended as they are easier to lift while you are applying the paint with the brush.

Monday, October 27, 2014

Pumpkin Painting Party!

We are less than a week away from Halloween and it's high time for the pumpkins to be carved, decorated or arranged. I have taken my pumpkins to my office job to greet the passerbys and liven up my space.

The neat trick I worked with in this mini painting session with my friend Liz was to use blue painter's tape to block out the spaces for the jack-o-lantern faces and then we could paint the rest of the pumpkin with acrylic paint, however we pleased! This proved to be a bit less stressful then designing a full face with just a paint brush and way less clean up than if we had carved!

The pumpkins had a couple of tricks to them - we realized bigger pieces of tape were a bit better, a clean press down and light sponge brush movements near the edges were important. and careful removal of the tape was crucial to the overall effect. I found that after it was all dry, I wanted to add details in black glitter paint to give it some more dimensionality. The acrylic paint could use a clear coat to give the seal more durability but I enjoy the matte effect of the black contrasting with the glitter.


My friend Liz's multi-colored Pumpkin with the face from TapeMy pumpkin, tape freshly peeled off

My pumpkin after I added some black glitter paint details

A Dia de los Muertos pumpkin on the left, tape in the middle and the wavy line designs on the left all with glitter paint details.

Brought my pumpkins to my day job!
Such happy faces at the office!
What have you done for your Halloween decorations? Do you want to give this a try? If you are in the Jacksonville area, I have some availability for the afternoon/evenings of this week. Contact me! Let me know if you try something similar, I would love to see other people's examples!

Happy creating!

Chelsea Rose